My Files
The My Files view is your personal document library. Here you can upload, organize, browse, and manage all the files you own on the platform.
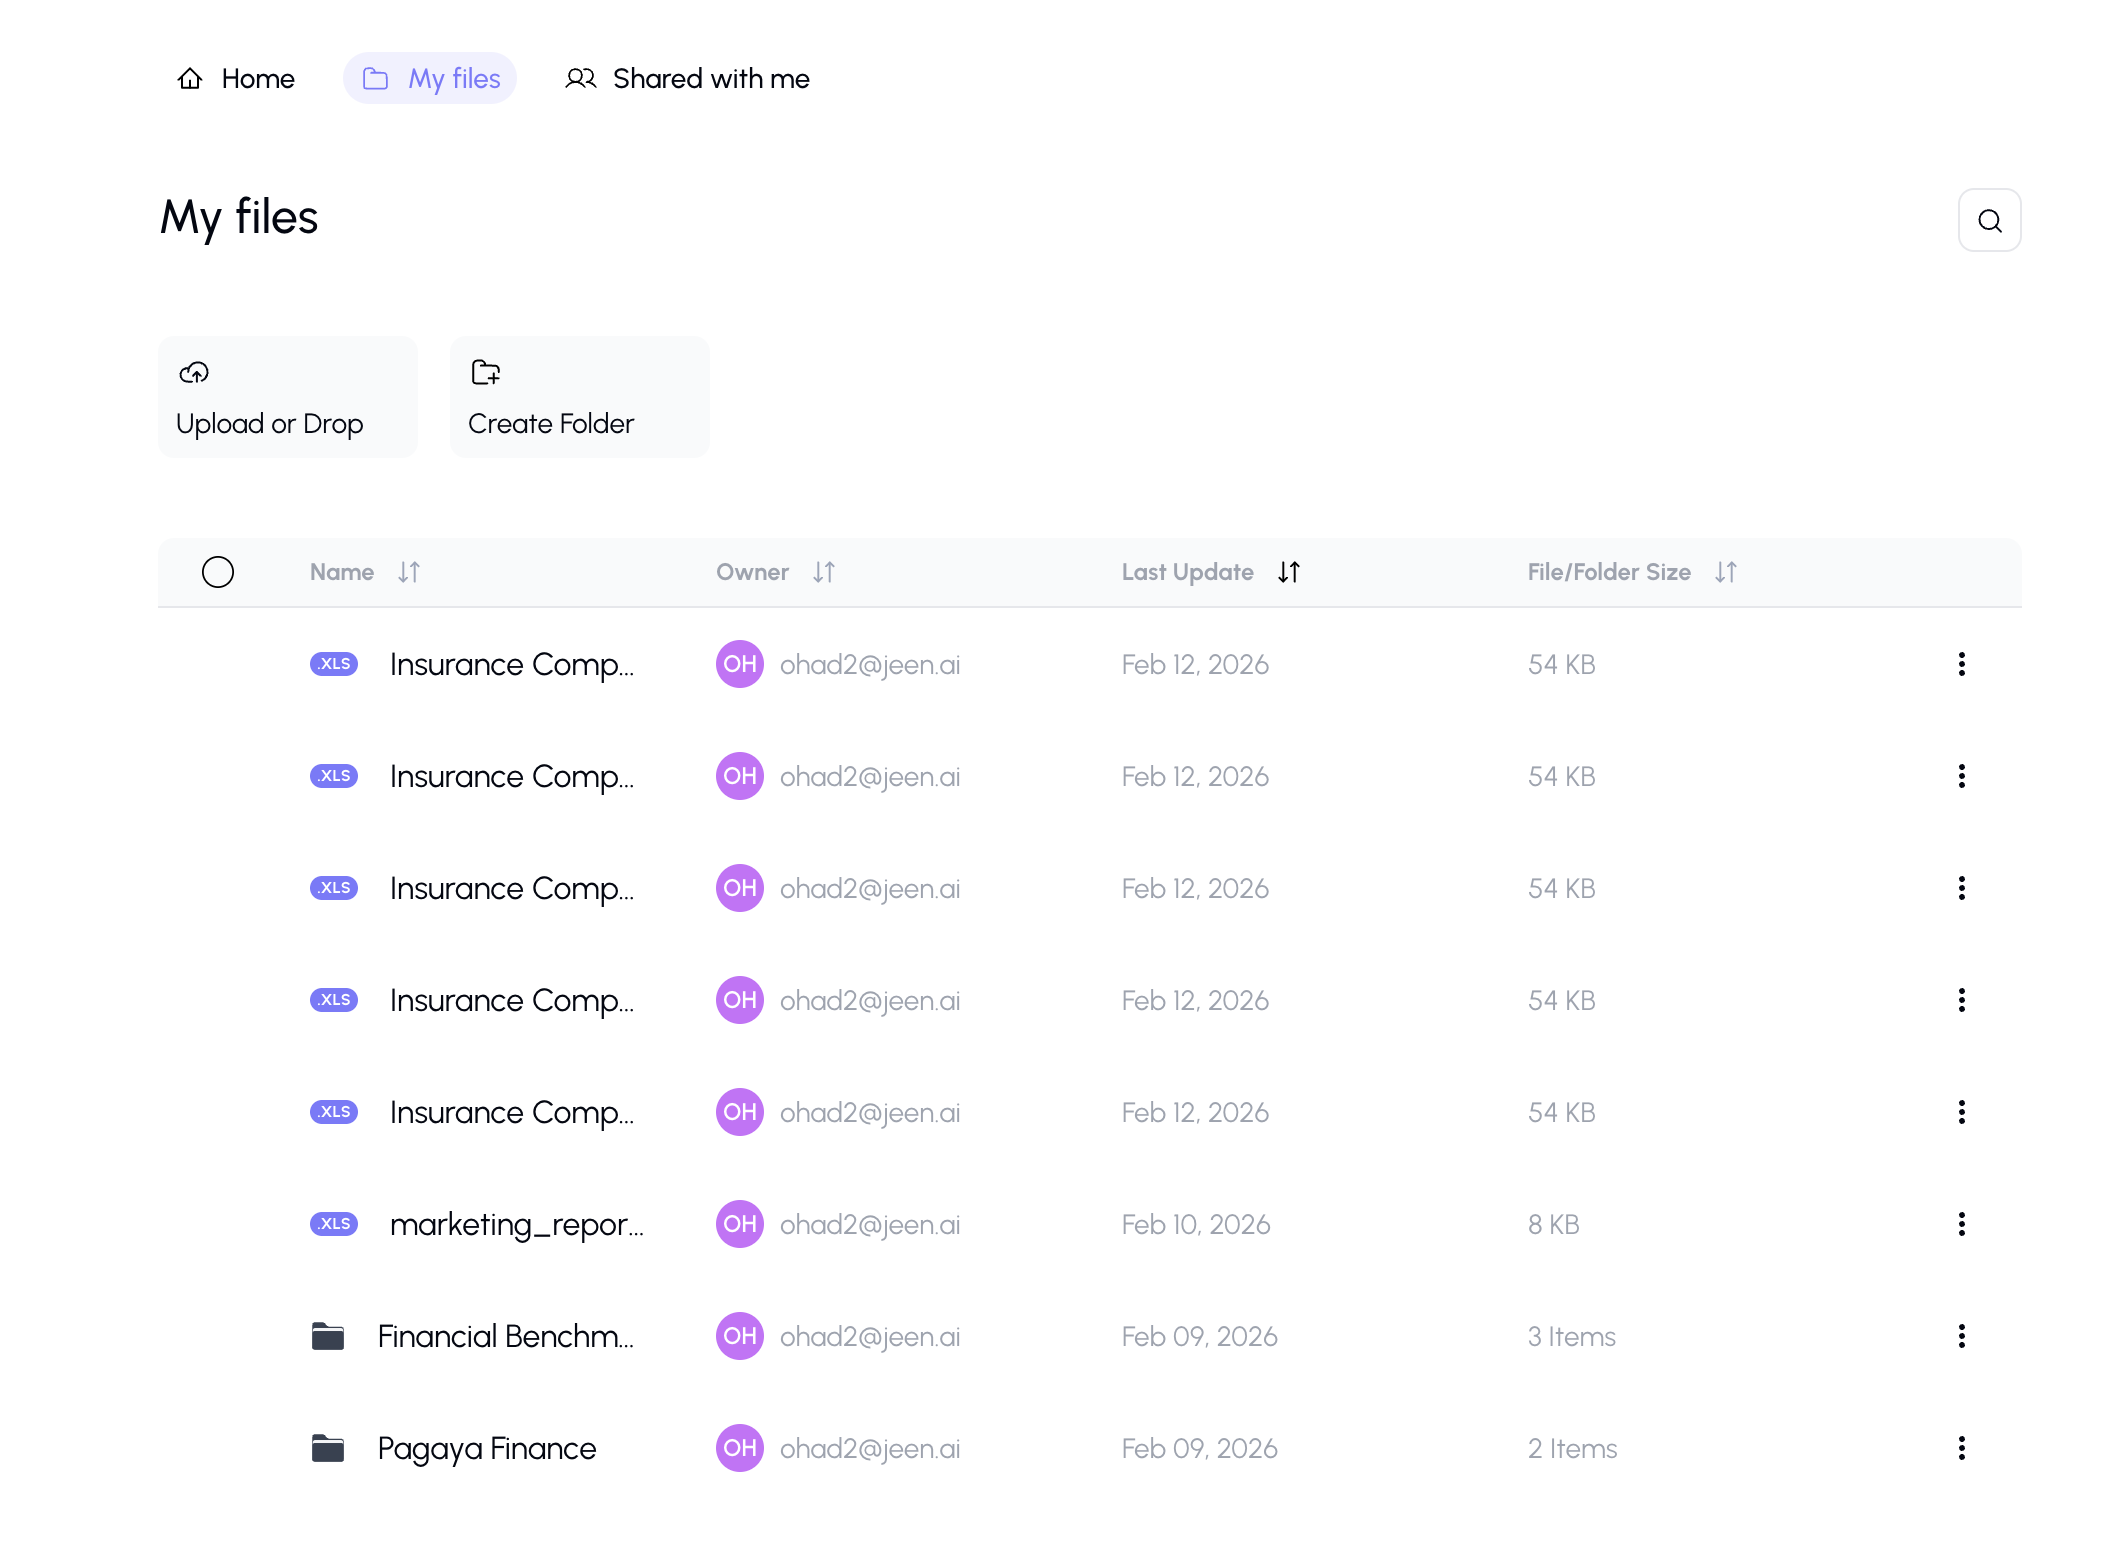
What You'll See
My Files displays your documents and folders in a table view with the following columns:
| Column | Description |
|---|---|
| Name | The file or folder name |
| Owner | The owner of the file |
| Last Update | The last update date |
| File/Folder size | The size of the file or folder |
Uploading Files
From Your Device
- Click the Upload button at the top of the page.
- An upload dialog will open.
- Drag and drop files into the upload area, or click to browse your device.
- Select one or more files.
- (Optional) Configure advanced parsing options.
- Click Upload to start the process.

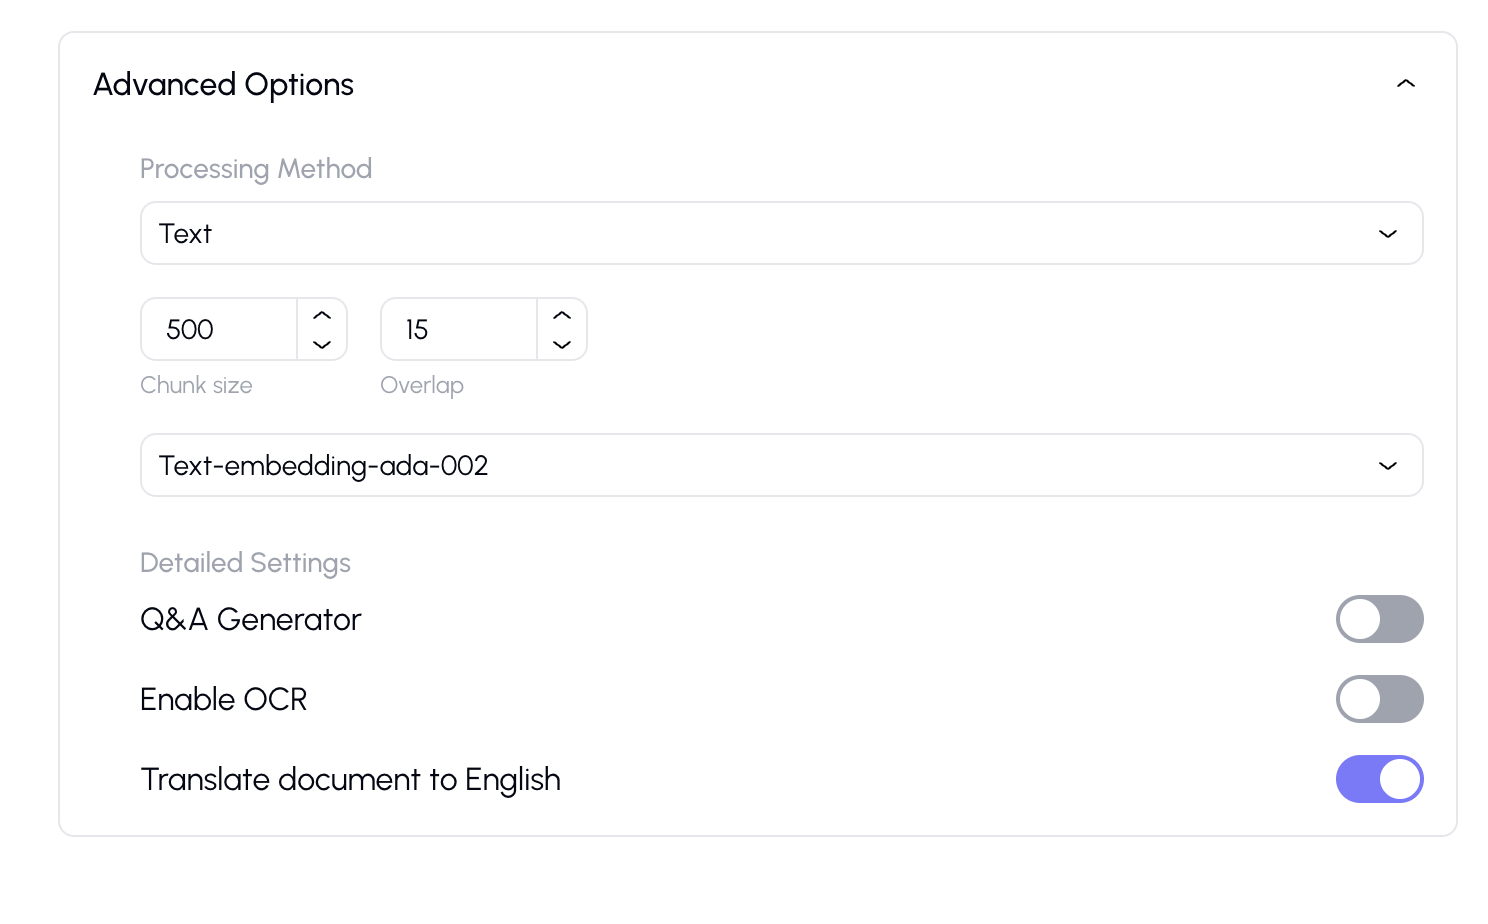
Advanced Upload Options
When uploading, you can configure how the document is processed:
| Option | Description | Default |
|---|---|---|
| Parsing Method | How the text is extracted (Text, Semantic, Marker, etc.) | Auto |
| Chunk Size | How large each text chunk is (100–2000 characters) | Default |
| Chunk Overlap | Overlap between consecutive chunks (0–100 characters) | Default |
| Embedding Model | Which model creates the searchable embeddings | Default |
| OCR | Enable text recognition in scanned documents | Off |
| Translation | Translate content during processing | Off |
Tip: If you're not sure what to choose, the defaults work well for most documents.
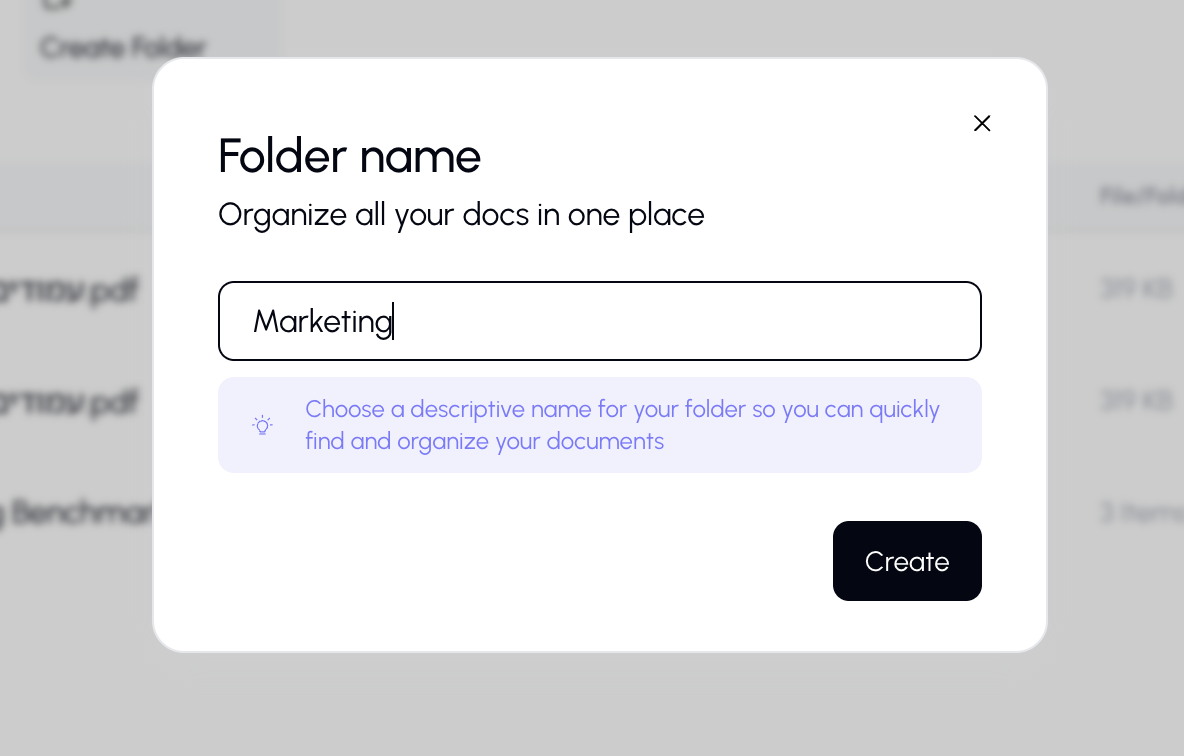
Creating Folders
- Click the "New Folder" button.
- Enter a folder name.
- Click Create.
- The folder appears in your file list, ready for you to move files into it.
Navigating Folders
- Click a folder to enter it and see its contents.
- Use the breadcrumb path at the top to navigate back to parent folders.
- The path shows your current location in the folder hierarchy (e.g., Home > Projects > Q1 Reports).
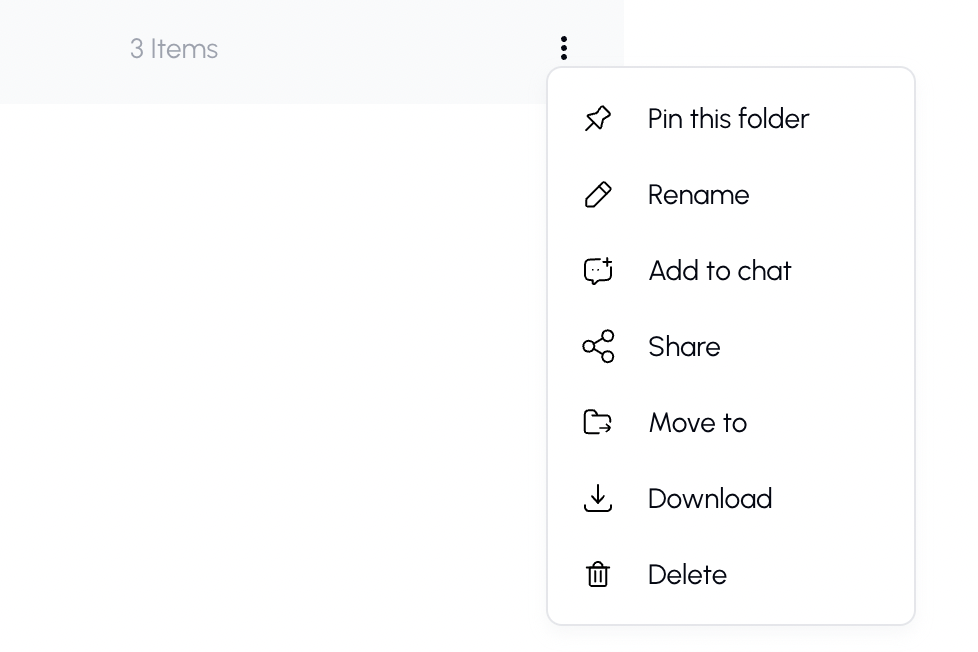
Managing Files and Folders
Rename
- Right-click a file or folder (or use the action menu).
- Select Rename.
- Type the new name and press Enter.
Move
- Drag and drop files into a folder.
- Or right-click → Move → select the destination folder.
You can also move multiple files at once by selecting them first.
Delete
- Right-click → Delete.
- Confirm in the dialog that appears.
Warning: Deleting a file removes it permanently. Make sure you don't need it before confirming.
Pin
Pin important files or folders so they appear on the Home view for quick access:
- Right-click → Pin.
- The item will appear in the "Pinned Items" section of the Home view.
- To unpin, right-click → Unpin.
Selecting Multiple Files
Click the checkbox next to multiple files to select them. A bulk action bar will appear, allowing you to:
- Delete all selected files
- Move all selected files to a folder
Searching
Use the search bar at the top of the table to filter files by name. Results update in real time as you type.
Sorting
Click any column header to sort the table:
- Click once to sort ascending (A–Z, oldest first, smallest first)
- Click again to sort descending (Z–A, newest first, largest first)
By default, files are sorted by last modified date (newest first).
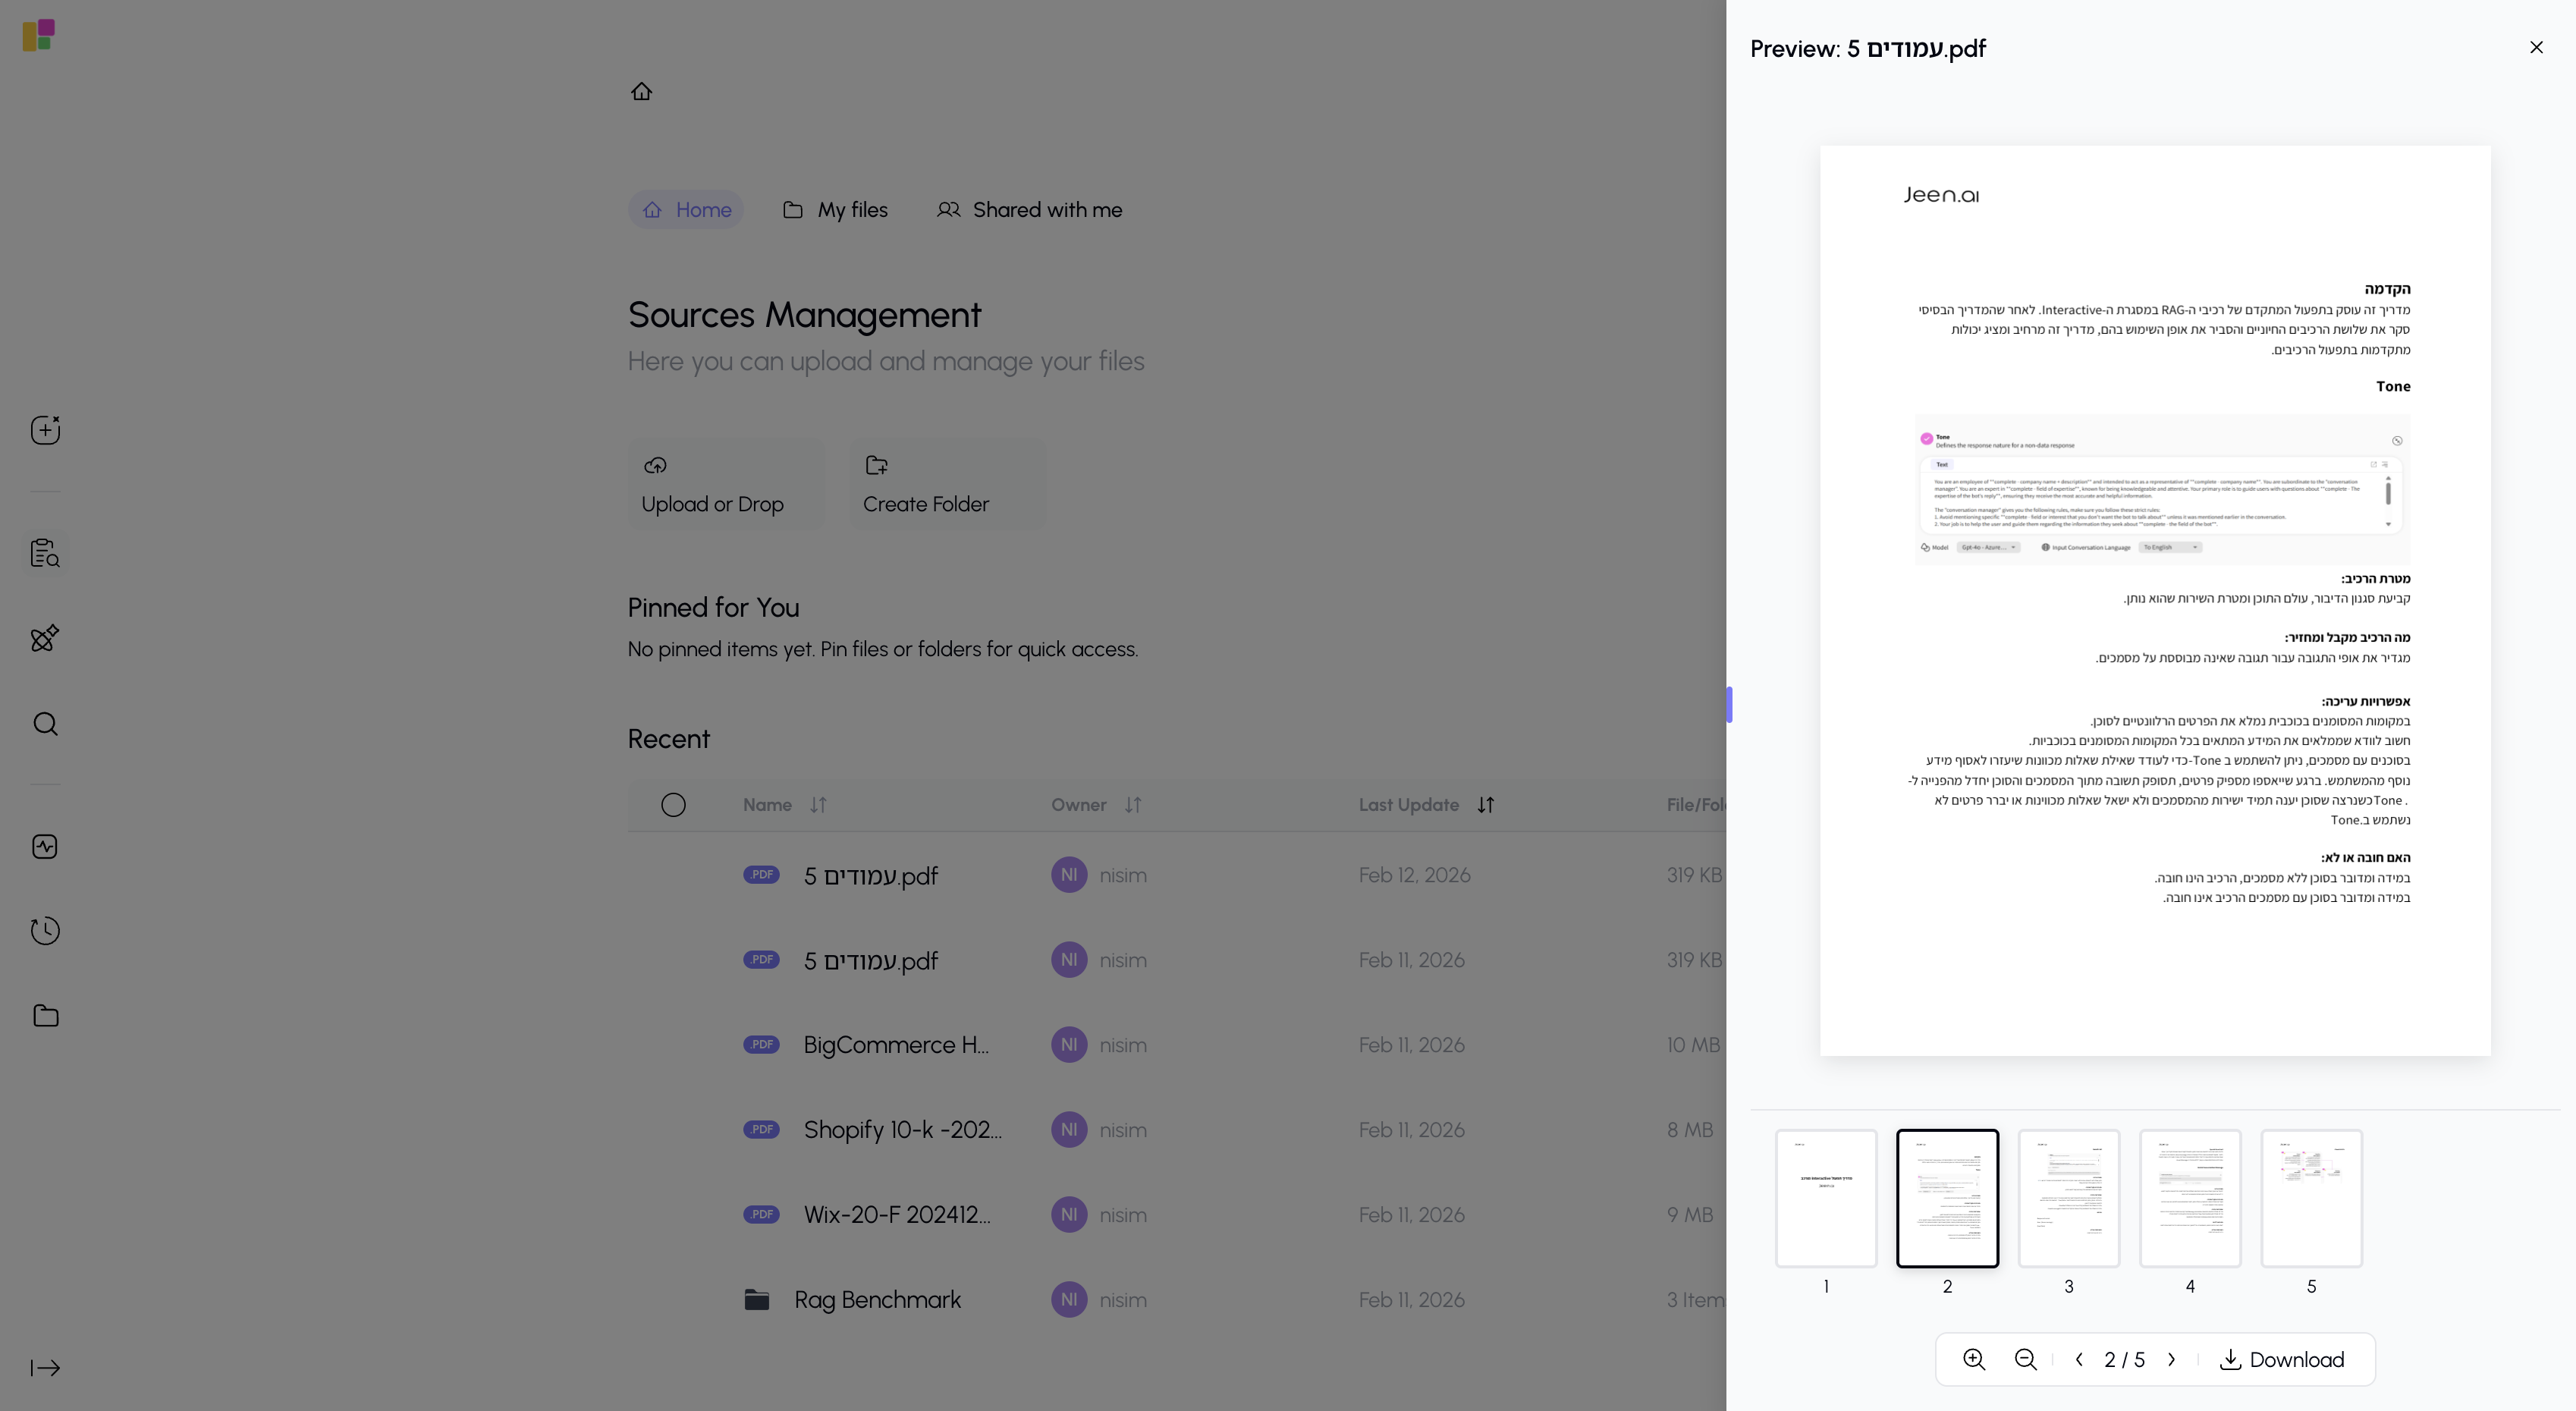
Preview
Click on a file to see a preview in the side panel. The preview shows:
- File name and type
- File size and dates
- A text preview of the document content
- Quick action buttons (share, download, delete)
Tips
- Upload frequently used documents so the AI always has access to them.
- Use folders to keep things organized — for example, by project, department, or topic.
- Pin your most important documents so they're always one click away.